Your main product detail pages can be setup to include image galleries. This functionality enables you to setup your shop so that when a shopper clicks on an image in your gallery:
- the main product image is changed to the image they clicked on
- the option that this image relates to is automatically selected in the option drop down menu
You may need to talk to your website developer to enable this feature to display in your website theme. But the functionality is there ready for you to use.
To add images to your image gallery, go to the “Gallery” tab when editing your product.
From the Front End
View your individual product page and click on “Gallery” in the admin bar.

From the Admin
Go to “Products” > Search for your product > Click “Edit” adjacent to the product, click on the “Gallery” tab.

Add images to your gallery
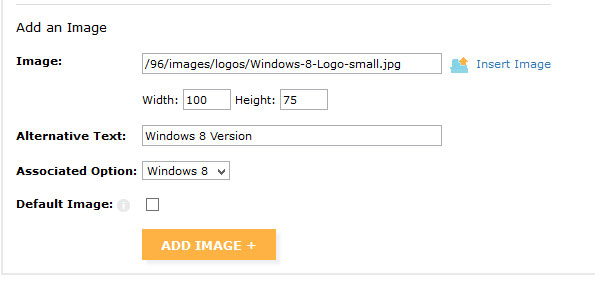
- Click “Insert Image” to locate or add a new image to your website.

- Once you have located the image click on it or click on the “Select” link to use this image.

- Give the image some Alternative Text which will help with SEO.
- If you would like to associate this image with a product option, select the relevant product option that it is associated with from the drop down menu.

- Click “Add”
- Repeat steps 1 to 5 for additional images.
Removing images from your gallery
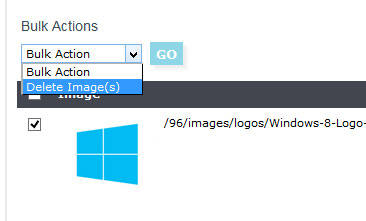
To remove an image from the gallery, tick the image(s) you wish to remove, under Bulk Action click “Delete Image(s)” and press “Go”. These images will be removed from the product but the images won’t be deleted from your website.

Product Galleries in Action
- Thumbnail images displayed under the main product image
http://www.crochetshawls.com.au/product/3428/89012/ella-peppermint-shawl-crochet/ - Product images attached to the options in the drop down
http://shop.saveoursleep.com.au/product/2371/31387/